Key Takeaways
WordPress editing becomes much easier once you know where content, design settings and media controls live. This wordpress editing tutorial walks through the main tools, with practical checks to help you make changes confidently.
- Use the page and post editor for content, and the Site Editor for wider design changes.
- Add and arrange blocks to create clear, flexible layouts.
- Give images useful alt text, sensible dimensions and descriptive captions.
- Check headings, links, contrast and mobile layouts before publishing.
- Keep revisions, previews and backups in your routine so mistakes are reversible.
Get familiar with the WordPress editing interface
WordPress can look busy at first, but most editing tasks follow the same pattern. You choose the content or design area, select a block, make a change and then save or preview it. The main distinction to remember is whether you are editing a page or post, or changing the site-wide design around that content. A WordPress editing interface guide is useful when you want a visual reminder of where the toolbar, inserter and settings controls sit.
Find pages, posts and site settings
From the WordPress dashboard, Pages and Posts contain the material visitors read, while Appearance contains options for the theme and wider site presentation. Open a page when you need to change its copy, images or layout; open the site design controls when you need to adjust shared elements such as a header or footer. Keeping these areas separate prevents a small content edit from turning into an accidental site-wide change.
The dashboard also gives you access to the Media Library, comments, users and settings. The exact menu options can vary with your theme and installed plugins, so do not worry if your screen is not identical to a tutorial. If you are unsure which editor you need, guidance on editing page content can help distinguish an individual page from the design wrapped around it.
Understand the editor toolbar and settings sidebar
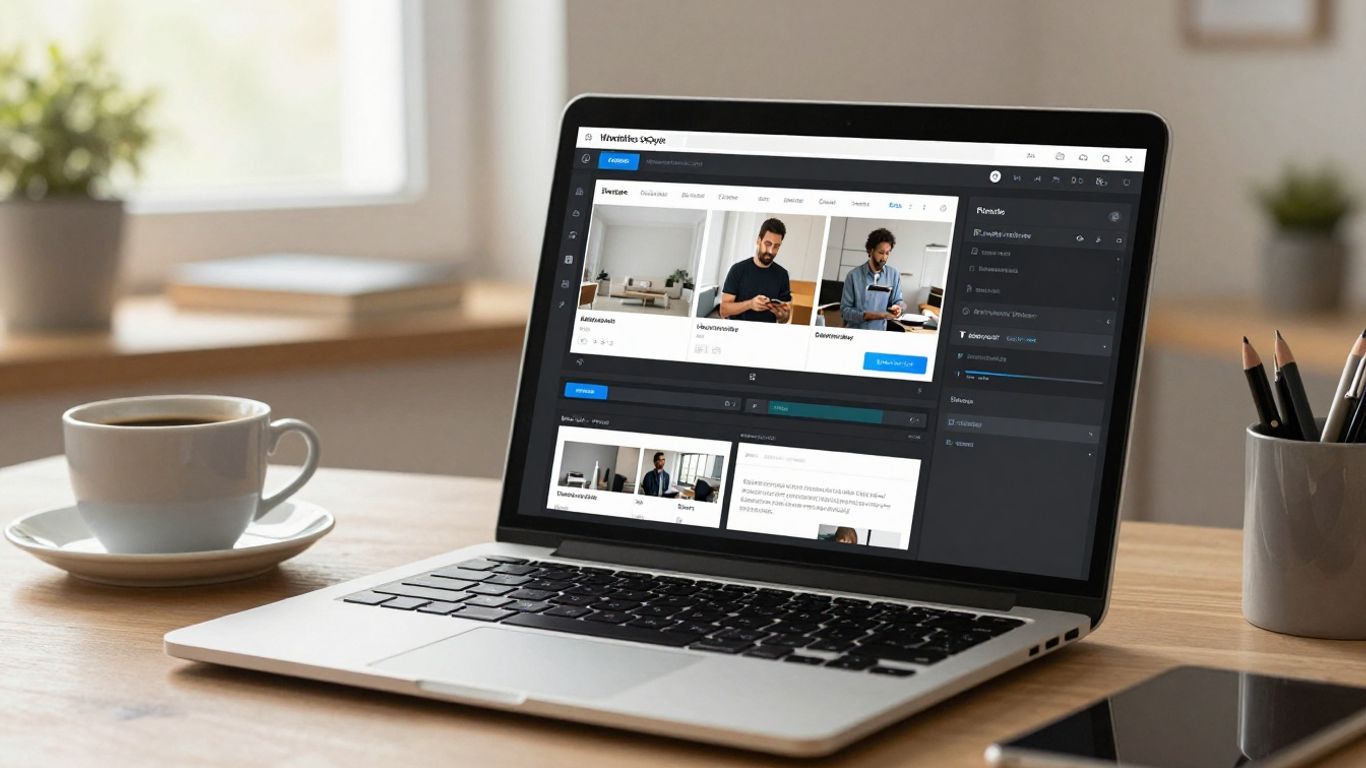
The top toolbar contains actions such as undo, redo, preview and saving. When you click a block, its own toolbar appears with controls relevant to that block, such as alignment, links or text formatting. The settings sidebar usually contains document settings alongside block settings, and a sidebar toggle can give you more room to work when the screen feels crowded.
Take a minute to select different blocks and notice how the sidebar changes. This small habit makes the editor feel more predictable, because you learn to look for a control rather than hunt through every menu.
Choose between visual and code editing
Visual editing is the safest starting point for most page and post changes. It lets you see the structure of blocks as you build, while the code view exposes the underlying markup for people who are comfortable checking it directly. Switching views can be helpful when diagnosing unusual formatting, but pasted code may bring in unwanted styles or broken tags.
If you do use code view, change one small area at a time and return to the visual editor to check the result. A WordPress maintenance service can also be sensible for a site where several people make changes and a formatting mistake could affect important pages.
Edit and format pages and posts
The block editor treats paragraphs, headings, images, buttons and other elements as separate pieces that can be adjusted independently. That makes everyday editing flexible, but it also rewards a measured approach. Work from the top of the page down, and keep an eye on how each change affects the reading flow. Before you begin, consider copying the existing wording somewhere safe if the page is commercially important.
Change text, headings and links
Click inside a paragraph to edit its words, then use the block toolbar for simple formatting. Use headings to divide the page into meaningful sections rather than choosing a heading level because it looks attractive. A descriptive link tells readers what will happen when they click, so “view the pricing guide” is generally more useful than “click here”.
Keep paragraphs short enough to scan, especially on mobile. When linking internally, read the whole sentence aloud to check that the anchor text fits naturally and does not interrupt the point you are making.
Add, move and customise content blocks
Use the inserter to add a new block, then drag blocks or use the move controls to change their order. Block settings may let you alter alignment, colours, typography, borders or spacing, though the available choices depend on the block and theme. Group related content when you want to move or style it together.
A short sequence is often enough for a clean editing pass:
- Add the block that matches the content you are creating.
- Enter the content before adjusting decorative settings.
- Move the block until the page reads naturally.
- Check its spacing and alignment at a smaller screen width.
This order keeps design decisions from distracting you while you are still shaping the message. Once the content is in the right place, the visual adjustments are much easier to judge.
Save, preview and publish your changes
Use Save Draft while work is unfinished, and preview the page before making it public. Previewing is not just a final formality: it reveals cramped headings, unexpected spacing and links that are difficult to notice in the editor. When the page is ready, check its status, visibility and publishing date before selecting Publish or Update.
For significant changes, ask another person to read the page as a visitor would. A WordPress maintenance service can provide a useful safety net for regular updates, but you should still review the actual content and presentation before it goes live.
Add images, videos and other media
Media can make a page easier to understand, but it also affects loading speed, accessibility and layout stability. Choose files that earn their place rather than filling every empty space. WordPress lets you add media while editing or select existing files from the Media Library, so there is no need to upload the same asset repeatedly.
Upload and organise files in the Media Library
Open the Media Library to view uploaded images, documents, audio and video. Give files sensible names before uploading where possible, and avoid keeping several near-identical versions without a reason. The attachment details area can help you check the file type, dimensions and alternative text.
For a growing website, a simple naming convention makes older files easier to find. Keep original high-resolution files elsewhere when you can, and use appropriately sized copies in your pages rather than relying on the browser to shrink very large uploads.
Resize, crop and replace images
Select an image block to adjust its dimensions, alignment and display settings. Cropping can improve composition, while replacing the file is useful when an image has been updated but its position on the page should remain. After resizing or cropping, look at the image in context: a change that works in a wide editor window may feel awkward on a phone.
Avoid stretching images beyond their natural proportions. If an image looks soft or distorted, start again with a better source file rather than adding more styling to compensate.
Improve image accessibility with alt text and captions
Alt text should explain the useful meaning of an image for someone who cannot see it. If the image is purely decorative, an empty alt attribute is often preferable to a distracting description. Captions are different: they are visible to everyone and can provide context, a credit or a short explanation.
Write alt text for the page’s purpose, not as a list of every visible detail. A photo of a product might need the product name and relevant action, while an image that adds no information may not need a spoken equivalent.
Build layouts with blocks and patterns
Blocks can be combined into larger structures without writing code. Columns, groups and spacers help establish hierarchy, while patterns offer ready-made arrangements that you can adapt. Start with the content and its order, then use layout controls to give it room and rhythm. This approach usually produces a calmer page than adding effects first.
Create columns, groups and reusable sections
A Columns block can place related pieces side by side, while a Group block keeps a set of blocks together. These containers are useful for cards, feature areas and callouts, but too many nested groups can make a page difficult to manage. Name or organise larger groups clearly in the List View so you can return to them later.
Use repeated sections carefully. If the same callout appears across several pages, a pattern or shared component may reduce duplicated editing, but check how your theme handles updates before relying on it for critical content.
Use patterns to speed up page design
Patterns are pre-arranged collections of blocks that give you a starting point for a section. Insert one, replace its text and images, and remove anything that does not fit your page. A pattern should support your content rather than dictate it, so do not keep a row of buttons or headings simply because the original arrangement included them.
The Site Editor tutorial explains how patterns fit alongside pages, templates and global styles. That wider view is helpful when you are deciding whether a design belongs on one page or should be reused across the site.
Control spacing, alignment and responsive layouts
Use consistent spacing to show which elements belong together. Alignment should serve the reading path, and wide layouts need particular care because columns can become cramped when they stack on smaller screens. Preview the layout at different widths rather than assuming that a desktop view will translate automatically.
When a block offers responsive controls, make the smallest useful adjustment. Overriding every margin and width can create fragile designs that are hard to maintain. A simple structure with generous space is often more dependable than a heavily tuned one.
Customise your WordPress site design
Site design changes affect the framework around your content. Depending on the theme, you may edit templates and template parts in the Site Editor, or use theme customisation settings for selected design options. The controls you see are therefore not identical on every WordPress installation. Make a note of the original settings before changing a shared element.
Edit headers, footers and navigation menus
Headers and footers are repeated across many pages, so a change there can have a broad effect. Check your logo, navigation, search controls and contact details in context, then test each important link. For navigation, keep labels concise and arrange items in the order visitors are most likely to need them.
If you cannot find a site-wide design editor, your theme may use a different customisation route. The Site Editor interface covers navigation, styles, pages, templates and patterns for sites where those controls are available.
Change colours, typography and global styles
Global styles can establish consistent colours, type sizes, line heights and spacing throughout a site. Choose combinations with enough contrast and test longer headings, buttons and links rather than checking only a short sample. Typography should make the page easier to read first; personality comes after clarity.
Change one family of settings at a time and view several page types afterwards. A colour that looks fine in a hero section may be too faint for body text, and a large heading scale may overwhelm a small post title.
Understand the difference between themes and the Site Editor
A theme provides the visual rules and available templates for a WordPress site. The Site Editor, where supported, is the workspace for changing parts of that design with blocks, such as templates, navigation, headers and footers. Editing a page changes its content; editing the site changes the surroundings shared by many pages.
That distinction is worth checking before every design task. The site and page editing guide gives a practical explanation of why “Edit Site” and “Edit Page” lead to different kinds of work.
Improve edited content for SEO and accessibility
Good editing serves people before search engines. Clear structure helps visitors scan, understand and act, while accessible choices make the same content usable with different devices and assistive technology. Search visibility is usually easier to improve when the page has one clear purpose and answers it directly. Treat these checks as part of editing, not as a last-minute layer.
Write clear headings and descriptive links
A useful heading tells the reader what the next section contains. Keep heading levels in a logical order, and avoid using headings merely to make text larger. Links should describe their destination or action, particularly when several links appear together.
Read the headings alone as a quick outline. If they do not tell a coherent story, the page may need reorganising before you spend time polishing individual sentences.
Optimise page titles, URLs and meta descriptions
Give each page a distinct title that matches its main subject, and keep the URL short enough to understand. A meta description should accurately summarise the page and invite the right visitor without making promises the content cannot keep. Include the focus phrase where it fits naturally, rather than repeating it unnaturally.
Review these fields after major edits. A change in topic may mean the old title or URL no longer reflects the page, while an overly clever description can hide the practical answer visitors are looking for.
Check contrast, keyboard navigation and mobile usability
Colour contrast should make text and controls easy to distinguish. Test the page with a keyboard by moving through links, buttons and form fields, and check that the focus indicator remains visible. Then use a phone-sized view to inspect wrapping, tap targets, tables and media.
Small screens often expose problems that are invisible on desktop. If a button is difficult to tap or a heading breaks into an awkward shape, simplify the layout rather than assuming visitors will work around it.
Review and manage your edits safely
Editing is not finished when the words look right in the dashboard. A careful review checks the public page, the surrounding navigation and the behaviour of interactive elements. It also leaves you a route back if a change causes trouble. A WordPress maintenance service can support routine care, but safe publishing still starts with a thoughtful review process.
Preview changes on different screen sizes
Preview the page in a new tab and check it at wide, medium and narrow widths. Look for horizontal scrolling, clipped images, crowded columns and buttons that have moved away from the text they support. Open important links and confirm that menus, forms and embedded media behave as expected.
Ask someone who was not involved in the edit to perform a quick read-through when the page matters. Fresh eyes often catch a missing word or confusing transition faster than another pass by the writer.
Use revisions, autosaves and scheduled publishing
WordPress can retain revisions and create autosaves while you work, giving you a way to compare or restore earlier versions when available. Revisions are particularly useful after a large rewrite or an accidental deletion. Scheduled publishing can help you prepare several updates in advance, but check the timezone and final status before relying on it.
Do not treat autosaves as a complete backup strategy. Keep independent backups for the site, especially before theme, plugin or major content changes, and confirm that you know how restoration would work.
Troubleshoot layout, plugin and formatting problems
When something looks wrong, undo the most recent change first and inspect the affected block’s settings. If the issue remains, check whether a plugin, theme setting or custom code is involved. Recreate a small test area rather than changing several unrelated settings at once; this makes the cause easier to identify.
Common fixes include removing pasted formatting, checking nested groups, replacing an oversized media file and testing with non-essential plugins disabled. Record what you changed, so a later repair does not become a second mystery.
Conclusion
WordPress editing is a repeatable craft: choose the right editing area, work with blocks, check media and accessibility, then preview before publishing. With a little patience and a reliable maintenance routine, you can keep pages, posts and site design useful without making every small change feel risky.
Frequently Asked Questions
What is the difference between editing a page and editing a post?
A page usually holds more permanent information, such as services or contact details, while a post is commonly used for dated or regularly published articles. Both can be edited with blocks, but their role in the site may differ.
How do I edit a WordPress page?
Open Pages in the dashboard, select the page you want to change, edit its blocks and choose Save Draft, Preview or Update. Review the public version afterwards to confirm that the changes appear as intended.
How do I edit a WordPress post?
Open Posts, choose an existing post or create a new one, then change its text, headings, links and media in the editor. Check the categories, tags, featured image and publication settings before publishing.
Can I edit my website design without changing page content?
Yes, where your theme supports the relevant design controls. Site-wide areas such as headers, footers, navigation and global styles can often be changed separately from the words and media on an individual page.
How do I add an image to a WordPress page?
Insert an Image block, upload a file or select one from the Media Library, then adjust its size and alignment. Add suitable alternative text and check the result on both desktop and mobile views.
Why does my layout look different on mobile?
Columns, spacing, font sizes and images may adapt at narrower widths. Preview the page on a small screen, reduce unnecessary width settings and simplify crowded sections until the content remains easy to read and use.
How can I undo a WordPress editing mistake?
Use undo for a recent change, or open the available revisions to compare earlier versions of the page or post. For larger problems, restore from a verified backup rather than experimenting directly on the live site.