
Key Takeaways
A custom WordPress theme begins with clear decisions about its audience, structure and editing approach. Build it in stages, then test it carefully before launch.
- Decide which pages and tasks matter most to the people using the site.
- Choose a block or classic theme approach to suit the project and editing needs.
- Develop templates and styles in a local WordPress environment before going live.
- Keep reusable design elements consistent and check accessibility as you work.
- Test the finished theme with real content, different browsers and screen sizes.
Plan your theme and choose an approach
A good theme starts with a picture of the site it needs to serve, not a pile of files. Before coding, consider who will visit, what they need to do and how the site owner will keep its content current. This early planning makes the rest of a wordpress theme tutorial from scratch more manageable.
Define the site’s purpose, audience and key pages
Write down the site’s main purpose in a sentence, then identify the people it is for and the actions they should be able to take. A small organisation may need a clear services page and contact details; a publication may put articles and topic archives first. Think about what visitors need to find quickly, and what the site owner will update often. This becomes a practical guide for deciding which templates and content areas to build.
Choose between a block theme and a classic theme
A block theme uses blocks for the site’s structure and can let site owners edit templates and template parts in the Site Editor. A classic theme is built primarily with PHP templates, CSS and JavaScript, and suits a workflow where more of the layout is controlled in theme files. Neither approach is automatically right for every project: consider who will maintain the site and how much control they need over page layouts. The Theme Developer Handbook is a useful reference for learning about both approaches and their development.
| Consideration | Block theme | Classic theme |
|---|---|---|
| Main layout approach | Blocks and HTML-based templates | PHP templates, CSS and JavaScript |
| Template editing | Site Editor can edit site areas | Primarily managed through theme files |
| Useful when | Editors need to adjust layouts visually | A code-led template workflow fits the project |
| Early planning focus | Theme configuration and template parts | Template files and WordPress functions |
Use the comparison as a starting point, not a rulebook. Whichever route you choose, keep the editing experience in view alongside the design.
Sketch the layouts and reusable design elements
Make rough sketches for the homepage, a standard page, a post and any important archive. They do not need to look polished; boxes showing a header, navigation, main content and footer are enough to reveal what repeats. Note shared elements such as buttons, headings, cards and spacing so they can be styled consistently. A small set of reusable patterns gives the site a recognisable feel without forcing every page into the same shape.
Gather the tools and assets you’ll need
Collect the essentials before creating the theme folder: a local WordPress installation, a code editor, a browser and the approved design assets. If you are converting a static design, keep its HTML and styles nearby as a reference rather than copying them blindly. A local WordPress setup guide can help you get a development site ready. Keep image rights, font licences and brand files in mind as well; finding those details late can hold up a launch.
Set up your development environment and theme files
A local site gives you room to make mistakes without changing a live website. It also makes it easier to check changes as the theme takes shape, using sample pages and posts along the way. Start with a simple development setup and keep the theme files organised from the beginning.

Install WordPress locally for safe development
Set up a local server environment and install WordPress on your own computer, following the instructions for your chosen tool. Create a test site with a few pages, posts, categories and images so your templates have realistic content to display. Use sample content that reflects the site’s eventual needs, including longer titles and different image shapes. A realistic test site makes gaps in the layout easier to spot than a blank installation does.
Create a theme folder and add its required files
Create a uniquely named folder inside the WordPress themes directory, then add the files your chosen theme approach needs. A minimal classic theme commonly starts with a stylesheet and template files; a block theme needs its own block templates and configuration. Keep names clear and avoid adding files before you know what they are for. A tidy structure helps you understand where a change belongs when the theme grows.
Add the theme header and foundational configuration
For a classic theme, the stylesheet includes a comment header with information WordPress uses to identify the theme, such as its name and version. Add only details you can maintain accurately, then activate the theme on your local site to check WordPress recognises it. For either approach, decide how you will organise styles and assets before the file count expands. Small choices made now can save time when troubleshooting later.
Set up theme.json for a block theme
In a block theme, theme.json provides a central place to configure settings and styles that affect the editor and the front end. Start with a limited palette, typography choices and spacing values rather than exposing a long list of near-identical options. Keep the file valid JSON, where commas and quotation marks matter, and check the result in the editor as well as on the site. A small design system is easier for editors to use and for you to keep consistent.
Build the templates and site structure
Templates determine how WordPress arranges content for different kinds of pages. Build the most important views first, then add variations only where the site genuinely needs them. Working from real content helps each template feel useful instead of merely complete on paper.
Understand the WordPress template hierarchy
WordPress selects a template based on the type of content being requested and the templates available in the active theme. More specific templates can be used for particular views, while broader templates provide a fallback. You do not need to create every possible file at once; begin with the views in your original page plan. Knowing how template selection works helps you diagnose why a page is using a particular layout.
Create templates for pages, posts and archives
Build a basic page template, a single-post view and an archive view, then compare each with your sketches. Pages often benefit from a straightforward content layout, while posts may need a title, date, categories and a readable text column. Archives should make it easy to scan and open a relevant item. Add specialised templates only when the design calls for a meaningful difference, such as a distinct landing page.
Add reusable headers, footers and other template parts
A header, footer or repeated content area should be built once and reused wherever it belongs. In a block theme, template parts can hold shared blocks; in a classic theme, shared PHP files can serve a similar role. Keep navigation clear and ensure the footer provides useful information without becoming a second sitemap. Reuse cuts down on duplicated work and makes later changes easier to apply consistently.
Display dynamic content with blocks or the Loop
Templates should display content entered in WordPress rather than rely on fixed copy for every page. Block templates use blocks to place and format content; classic themes commonly use the Loop to retrieve and display posts. Test with varied content, including missing featured images and unusually long headings. That way, you can adjust the presentation for real-world variation instead of assuming every entry will look identical.
Style the theme for visitors and editors
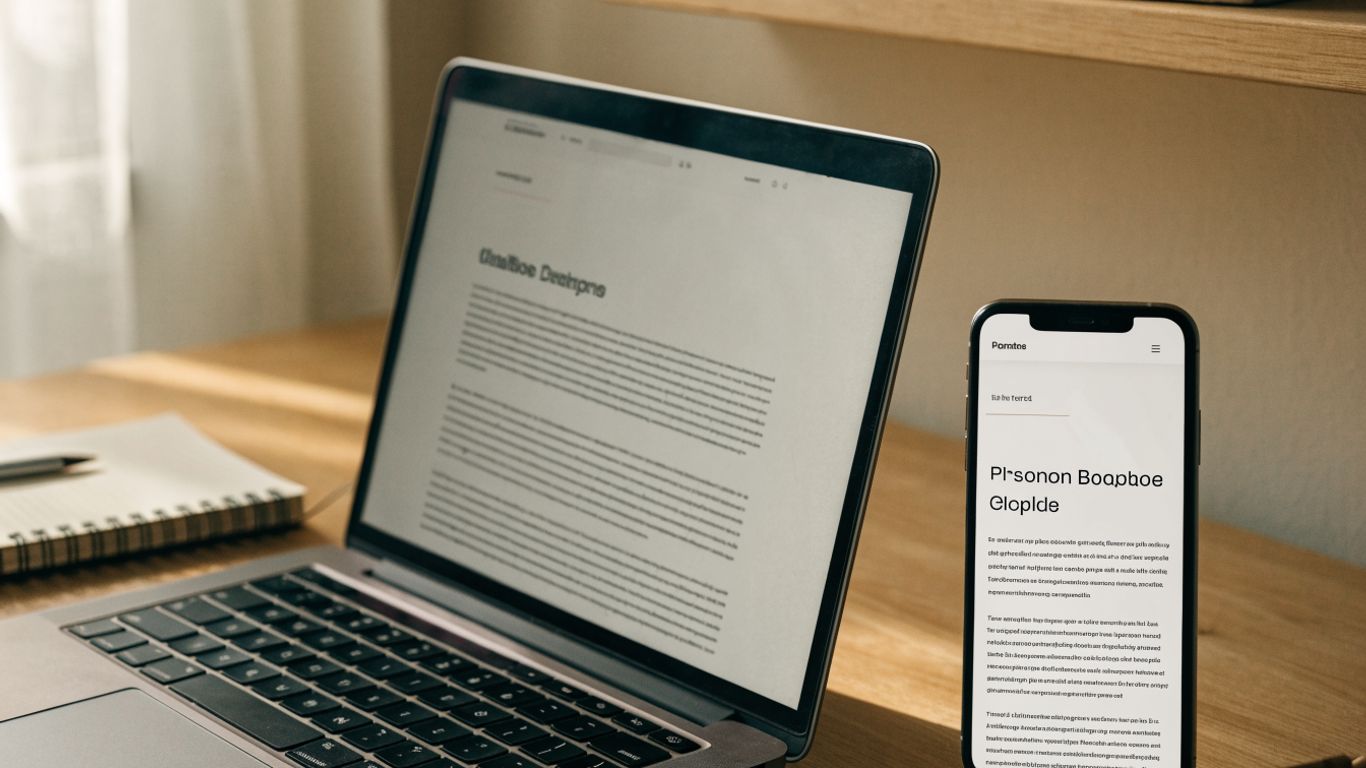
A theme’s visual design needs to work for readers and for the person editing the site. Choose a manageable set of colours, type sizes and spacing values, then use them consistently across templates. Check the same choices in the editing interface so the content creation process does not feel disconnected from the finished pages.
Set colours, typography and spacing consistently
Define a small palette with clear roles for backgrounds, text, links and accents. Choose readable type sizes and line lengths, and give paragraphs and headings enough space to be scanned comfortably. Consistency is more useful than a large collection of decorative options, especially when several people may edit the site. If a design choice is hard to explain, it may be worth simplifying.
Build responsive layouts with CSS
Start with layouts that work in a narrow viewport, then add CSS adjustments as the available space increases. Check navigation, images, buttons and text columns at several widths rather than relying on one desktop preview. Avoid fixed dimensions that cause content to spill beyond the screen, and make sure interactive controls have room to use. Responsive styling should preserve the reading order and purpose of each page, not just shrink the desktop layout.
Match the editor experience to the front end
Editors need to understand roughly how their choices will appear to visitors. Where possible, use consistent colours, typography and block settings in the editor and front end, and avoid offering controls that produce layouts the theme cannot support well. Try creating a page with the editor using the same blocks and patterns a site owner is likely to use. This practical check often reveals confusing defaults that a code review will miss.
Check accessibility, contrast and keyboard navigation
Check that text and controls are legible, links are distinguishable and headings follow a sensible order. Navigate the site with a keyboard alone, paying attention to menus, buttons and any controls that open or close content. Provide useful alternative text for meaningful images, while leaving decorative images out of the reading flow where appropriate. Accessibility is easier to improve as you build than to retrofit after the layout is finished.
Add theme features and functionality
Features should support the site’s purpose without making the theme harder to maintain. WordPress already provides conventions for loading assets and declaring theme support, so use those rather than scattering custom code across templates. Keep the theme focused on presentation and make each addition earn its place.
Load stylesheets and scripts the WordPress way
Load theme styles and scripts through WordPress functions rather than hard-coding asset links into template files. This gives WordPress a clear way to manage the files and their dependencies. Keep scripts limited to interactions the design actually needs, and avoid loading large assets on pages that do not use them. Test after each change so a missing file or dependency is easy to trace.
Register theme supports, menus and widget areas where needed
Declare the theme features the site needs, such as support for featured images or other relevant content options. Register navigation locations when the theme has menus, and add widget areas only if they have a clear role in the design and editing workflow. Available theme supports depend on the feature and WordPress version, so check the appropriate documentation before adding code. A restrained setup gives editors useful choices without filling the dashboard with options they will not use.
Keep site functionality separate from presentation
A theme should shape how content looks, while essential site behaviour should not disappear when the design changes. For example, custom content types or business-specific processes are usually better placed in a plugin than tied to the theme. This separation makes it easier to switch visual designs without losing core site data. Before adding a feature, ask whether it describes the site’s content and behaviour or merely its appearance.
Escape output and prepare strings for translation
Treat content displayed in templates carefully: escape values for the context in which they appear, and do not assume that content entered by an editor is automatically safe to print. Prepare user-facing strings for translation using WordPress’s internationalisation functions and a consistent text domain. These habits help make a theme safer and more adaptable. Review the relevant template code whenever a new dynamic value is introduced.
Test, package and launch your theme
A theme that looks right on one page in one browser is not ready to launch. Testing should cover the views you planned, the kinds of content the site will contain and the devices visitors may use. If the site will be maintained through a WordPress maintenance service, keep clear notes about the theme and its dependencies for whoever looks after it.
Check templates, links and content across screen sizes
Review every important template with real or representative content: pages, posts, archives and any special layouts. Open every visible navigation link, check buttons and look for missing images, unexpected gaps or text that gets cut off. Use a short repeatable review list so small details are not forgotten during the final pass:
- Check the homepage, standard pages, posts and archive views.
- Test navigation, buttons, internal links and any visible forms.
- Review narrow, medium and wide screen sizes.
- Look for empty states, long titles and missing featured images.
This pass should lead to fixes, not just a tick beside each item. Repeat the checks after significant changes, especially to shared templates or styles.
Validate code and review performance
Check PHP, CSS, JavaScript and JSON for syntax errors using appropriate validation tools, and review the browser console for issues. Remove unused files and avoid loading assets that the theme does not need. Performance is shaped by the whole site, not just the theme, but lean templates and restrained scripts help keep the theme from adding unnecessary weight. Test again after optimising so a performance change has not broken the layout.
Test with different browsers and WordPress settings
Look at the site in the main browsers your audience is likely to use, and test more than one WordPress configuration. For example, try different menus, a static homepage and a posts page, or switch between available content settings that affect the design. Check that the theme still behaves sensibly when optional content is absent. These checks can expose assumptions that were invisible during development on one machine.
Package the theme and install it on a live site
Before launch, remove development-only files, confirm the theme folder has a clear name and package it in a format that can be installed through the WordPress dashboard. Back up the live site, install the theme during a suitable maintenance window and check the key pages once it is active. Keep a copy of the release files and note any setup steps the site owner will need. A careful handover makes it easier to maintain the theme after the first launch.
Conclusion
Building a custom WordPress theme is a series of connected decisions: plan the content, choose an approach, create templates, style them for real people and test the result before launch. Start with the pages the site truly needs, keep the code and design manageable, and leave time for a careful review. A thoughtful foundation makes future updates less daunting.
Frequently Asked Questions
Can I build a WordPress theme without coding experience?
You can learn the fundamentals as you go, but creating a custom theme is easier if you are comfortable with basic HTML and CSS. A block theme can let editors shape more of the site in the Site Editor, though development still involves understanding theme files and settings.
What files does a basic WordPress theme need?
The files depend on whether you are building a block theme or a classic theme. A classic theme typically begins with a stylesheet and template files, while a block theme uses block templates and configuration such as theme.json.
Should I choose a block theme or a classic theme?
Choose based on the site owner’s editing needs and the development workflow you can support. Block themes make more site areas editable through blocks, while classic themes use a more code-led template approach.
Is it safe to build a theme on a live website?
It is safer to develop and test locally or on a separate staging site. This lets you find problems before changes reach visitors and reduces the chance of disrupting the live site.
How do I make a WordPress theme responsive?
Use flexible layouts and CSS that adapt to different viewport widths. Test the navigation, images, text and controls on narrow and wide screens, and keep the content readable without horizontal scrolling.
How can I test a theme before launch?
Check each template with varied content, test links and interactive elements, review the site in several browsers and screen sizes, and validate the code. Repeat the checks after major changes.
Can I use a custom theme on more than one site?
A theme can be installed on multiple sites, but check its licence and make sure its settings, templates and assets suit each site. Test it on each installation before using it in a live environment.